Creating New Prior Authorization
Prescriber ID Verification Process
Prescriber ID verification is required only for prior authorization requests initiated at the time of prescribing without a TRX code. This one-time process can be completed by the prescriber, or a delegate working on their behalf.
To verify a Prescriber ID:
- After completing the registration process, log in to the Prior Authorization Portal, and then click the ID Verification Management button from the home screen.
- If the user is a delegate, enter the prescriber’s information and click the Next button. If the user is the prescriber, this information will be automatically populated.
Note: The prescriber’s name must match the name under which the NPI is registered within the NPPES NPI Directory.
- Select a method for how you would like to verify the Prescriber ID using one of the options described below, and then click Next:
Fax Method | Third Party Verification |
|---|---|
This method allows users to confirm the prescriber’s identification by receiving a fax confirmation code. To verify prescriber ID using the fax method:
| Third Party Verification allows users to complete ID verification via a third party processor by answering questions regarding their credit history. Note: This option must be completed by the prescriber and not by a delegate. Delegates will not see this option, but will be able to send a request to the prescriber to verify their account. The prescriber must use their home address and not the address of their practice when answering the survey provided. Once the session has started, the user has 20 minutes to complete the validation. |
- Enter the prescriber's location information and click the Save Location button. Upon completion, Prior Authorization may be initiated using the prescriber's profile.
Starting New Prior Authorization
To start a new Prior Authorization:
- Click the Add New PA button on the navigation bar.
- Click the Start Prior Authorization button.
- Add a new patient or search for an existing patient by navigating to either the Add New Patient or Patient List tab, and then complete the required fields.
- Once the patient has been confirmed, the patient’s most recently entered health plan information will automatically populate. If a change is needed, click Change next to the plan information on the left-hand side of the screen.
Note: If no plan information has previously been entered, fill in the Plan Name, IIN, and PCN text fiends, and then click Submit
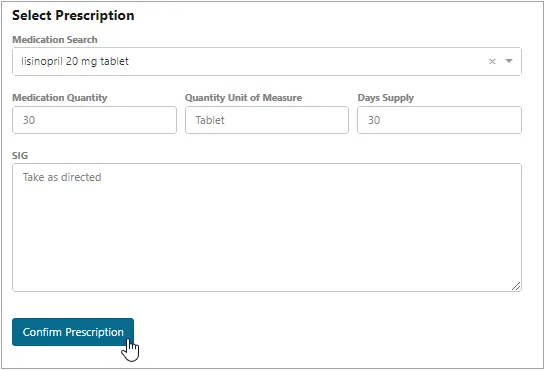
- In the Select Prescription section, enter the correct drug description in the Medication Search field. This is a type-ahead field where a drop-down list with available formulations will appear once you begin typing a drug description.
- Fill in the remaining prescription fields, and then click the Confirm Prescription button.
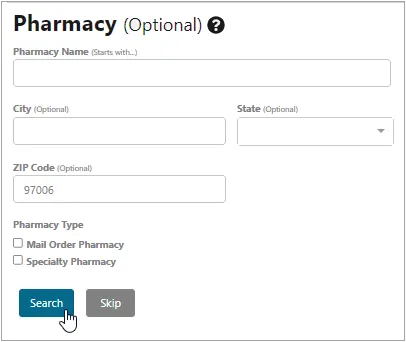
- (Optional) Complete the Pharmacy page by filling in any of the provided fields, and then clicking Search to present a list of potential matches.
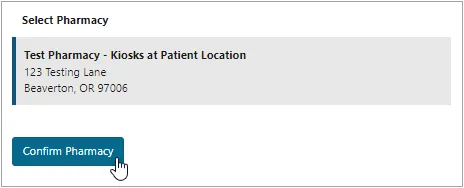
- (Optional) Click the appropriate pharmacy from the provided search results, and then click Confirm Pharmacy.
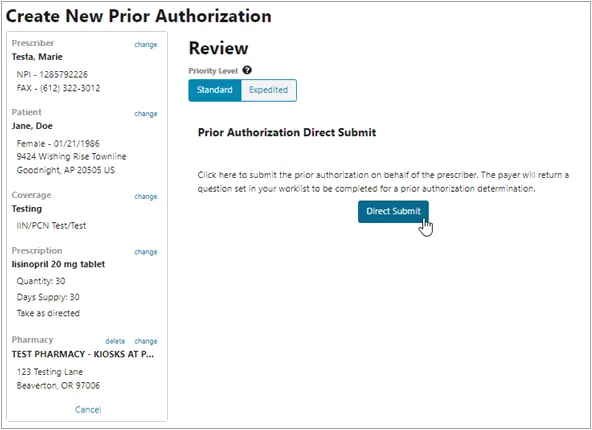
- Click the Direct Submit button to send your prior authorization request to the patient’s PBM/health plan. Once the PA has been created, the response automatically appears on the Worklist to process. The response will include a new task from the PBM/payer with a question set to complete, or provide additional information related to the prior authorization status.
Note: Only use the Expedited option for emergency prior authorizations.